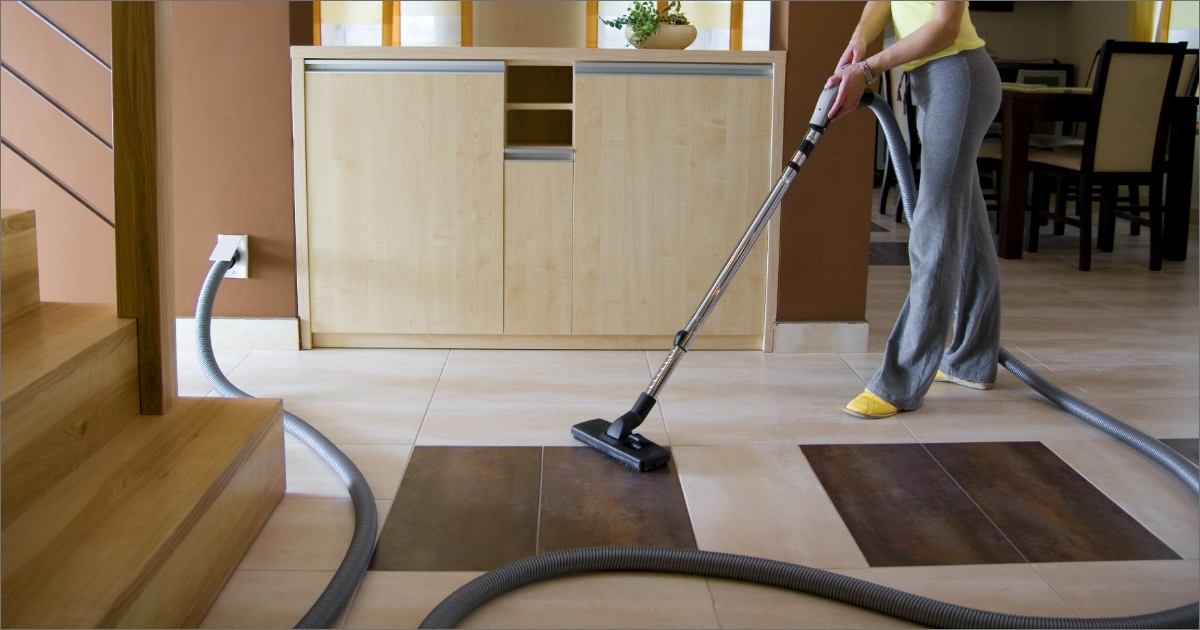
Installing a Central Vacs yourself can be a rewarding project, offering convenience and superior cleaning capabilities throughout your home. While it requires careful planning and basic DIY skills, following these steps will help you successfully install a Central Vacs:
Step-by-Step DIY Guide to Installing Central Vacs
1. Planning and Preparation:
- Evaluate Your Home: Assess your home’s layout to determine the best location for the central vacuum unit (typically in a garage, basement, or utility room) and strategically place inlet valves throughout each floor for optimal coverage.
- Gather Materials: Purchase a central vacuum kit that includes the main unit, tubing, inlet valves, mounting brackets, and necessary accessories. Ensure you have tools such as a drill, screwdriver, measuring tape, and PVC pipe cutter.
2. Installation Steps:
- Install the Central Vacuum Unit:
- Choose a suitable location for the central vacuum unit near an exterior wall or in a utility area with access to power and sufficient ventilation.
- Mount the unit securely using provided brackets and follow manufacturer instructions for wiring connections.
- Install Inlet Valves:
- Determine the number and placement of inlet valves based on your home’s layout. Typically, place one inlet valve per 600-800 square feet or in each major living area.
- Use a template to mark and cut openings in the wall for each inlet valve. Secure the valves in place and connect them to the main tubing system.
- Connect Tubing and PVC Pipes:
- Measure and cut PVC pipes to connect the inlet valves to the central vacuum unit. Use PVC cement to secure connections and ensure airtight seals.
- Route the tubing through walls, floors, or attic spaces using hangers or straps to secure it in place and prevent sagging.
- Install Exhaust Vent (if required):
- Some Central Vacs may require an exhaust vent to expel exhaust air outside. Install this vent according to manufacturer guidelines to maintain system efficiency.
3. Electrical Connections:
- Connect Power Supply: Ensure the central vacuum unit is safely connected to a dedicated electrical circuit. Follow local electrical codes and guidelines for proper wiring and grounding.
4. Testing and Adjustment:
- Test the System: Once installation is complete, test the Central Vacs to ensure all inlet valves are functioning correctly and there are no leaks in the tubing system.
- Adjust as Needed: Make any necessary adjustments to improve suction performance or correct any issues identified during testing.
5. Final Checks and Cleanup:
- Secure Connections: Double-check all connections, including tubing, inlet valves, and electrical wiring, to ensure they are secure and properly sealed.
- Cleanup: Clean up any debris or dust generated during installation and ensure the workspace is tidy.
Tips for Success:
- Read Manufacturer Instructions: Follow the specific installation guidelines provided by the manufacturer of your Central Vacs to ensure proper installation and warranty compliance.
- Safety First: Take necessary safety precautions when working with tools and electrical connections. If unsure about any step, consult a professional installer or electrician.
- Take Your Time: Installing a Central Vacs may take several hours or days depending on your home’s complexity. Plan accordingly and be patient throughout the process.
By following this DIY guide, you can install a Central Vacs yourself, enhancing cleaning efficiency and convenience in your home while potentially saving on installation costs.
Categories:
